


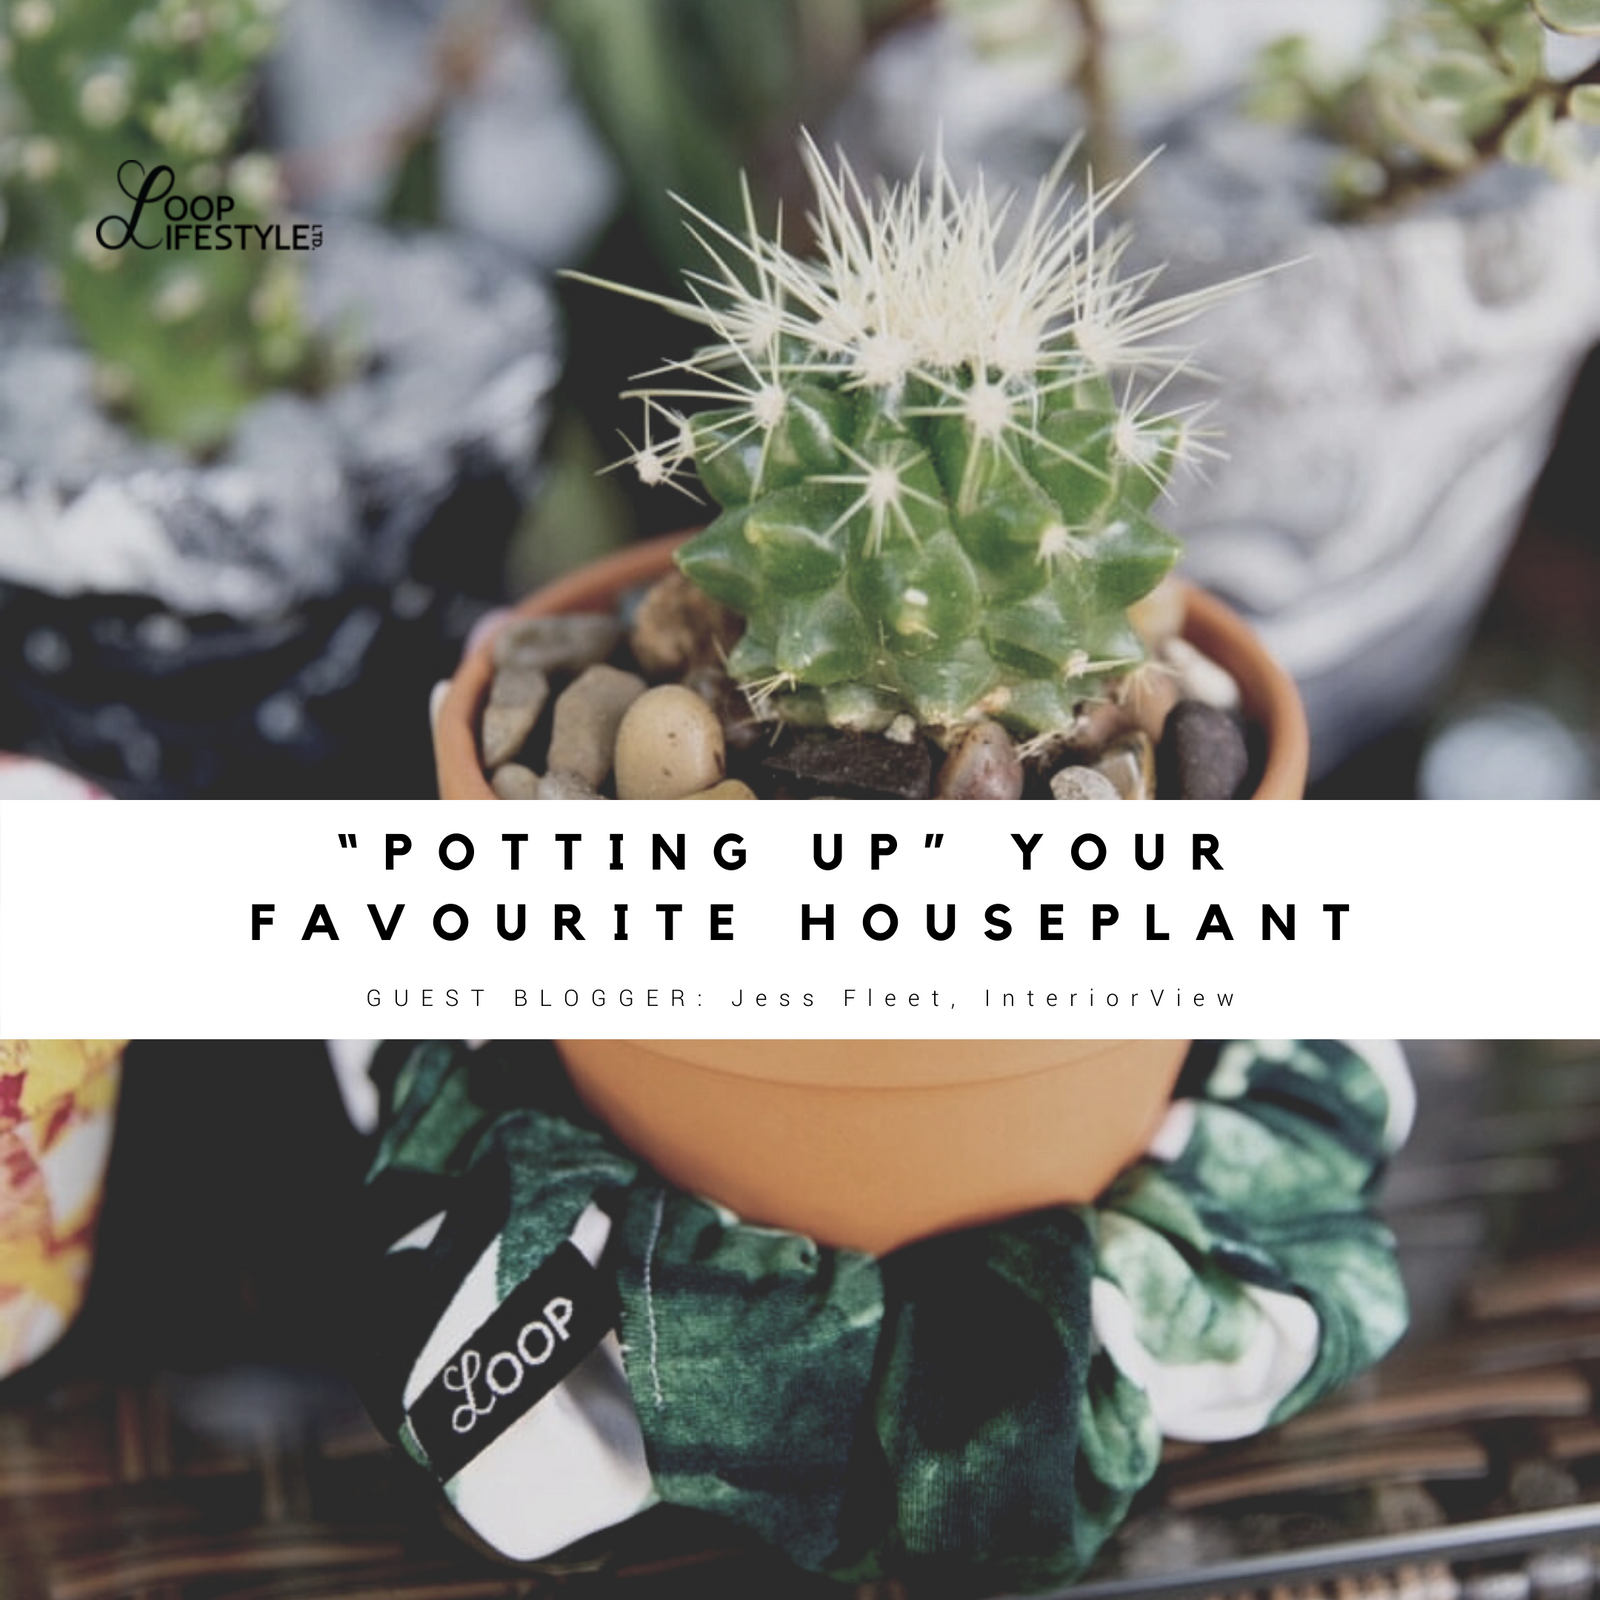
"Potting Up" Your Favourite Houseplant

Repotting or “potting up” your favourite plants can be an intimidating process. Here are a few tips to make the job a little easier.

First, we need to determine whether or not our plants actually need repotting. Is the it root-bound? You can check this by first checking out the drainage hole (if the pot has one), if the roots are coming out of the hole on the bottom, it is likely root-bound. You can also check by carefully tipping the plant, gently pulling the pot off the plant. (Do not pull the plant from the pot!) If the pot will not easily come off the plant, it is likely ready for a boost. You will see a big ball of roots in the shape of the pot if it is root-bound! If only a few roots are visible and you see mostly soil, the plant should stay in that pot, adding some fresh soil, nutrients and fertilizing during growing season will give the plant the boost it needs to continue growing a healthy root system. If the plant is root bound, the growth has slowed down and the soil is dry, it’s time to pot-up!

Now that we are 100% sure our favourite plant baby is ready for a new container to complement its stunning foliage, it is time to pick the pot! Choose a pot that is 1 inch wider than the current pot. (i.e. if the plant is in a 6-inch pot, it can be bumped up to a 7-inch pot.) Too big of an increase could stunt the growth of that plant you love so much. Plants generally want to be root bound to a certain extent, this is why we wait until they are both root-bound and no longer producing beautiful foliage as it had been. We recommend a pot with a drainage hole to prevent root-rot. Terracotta or clay pots are an inexpensive option and great if you tend to overwater your plants. The porous material allows the soil to drain evenly, we recommend these pots for new plant parents! You can even get different color clay pots now and don’t need to stick with the terracotta color.

With the perfect pot chosen, it is time to get dirty, let’s talk soil. We prefer to use a peat mixture with perlite for drainage and without added “nutrients” or chemicals. We then add nutrients in the form of earthworm castings. We also usually add extra drainage to our soil, either more perlite, sand, bark, rocks, lecca pellets, etc, or a combination of these. The amount and type of drainage we add depends on the type of plant and pot. All plants are different, you can find lots of into online or feel free to reach out anytime if you are wondering what soil combination and ratios to use for your specific plant.
Now that you have mixed your “magic potion”, it is time set up. Having a table to work on can make the job a lot more comfortable. Laying out a tarp or garbage bag, or even going outside can make clean-up much easier. Fancy gardening tools are not necessary, but it is helpful to have some sort of scoop. We use a popcorn scoop for large plants or a small or large kitchen spoon for smaller plants. If the new pot has a drainage hole, you can stop the soil from falling out of the hole by blocking it with a piece of screen, a coffee filter, or even a paper towel. (Water will still be able to drain but the soil will stay in.) If there is not a drainage hole, rocks or lecca pellets can be added to the bottom of the pot so the roots don’t sit in water causing root rot.

With all the supplies ready to go, it is time to take a deep breathe and dig-in! Taking my shoes off at this point always makes me feel more grounded and makes the process much more chill. Giving the plant a pep-talk, release those roots from the grasp of the pot. As I mentioned earlier, pull the pot from the plant rather than the other way around. This can be the hardest part of the process, patience will be a helpful tool to use here, maybe even a kitchen knife if the roots are really stuck to the pot.
Once the roots are released from the pot, remove any soil that easily falls off. (When the soil is dry, this is easier.) Gently and carefully loosen the roots if possible. Some plants are more sensitive to this (ei Jade, ficus, etc) and you should make sure your plant won’t mind this before playing with the roots.
Now that you can clearly see the depth of the rootball, you can determine how much soil mixture to add to the new pot. Usually just a thin layer on the bottom and pushed up the sides will do, being mindful to keep some space at the top of the pot so that when you water it doesn’t make a complete mess, spilling everywhere. Been there done that!!
Supporting the plant with one hand and the rootball with the other, carefully slide your green baby into its new home. Making sure it is as centered as centered as possible, fill in the edges if the pot with the soil mixture, using your fingers to gently push the soil down until all the empty spots are filled. Once you are happy with the amount of soil, tap (or slap) the sides of the pot with both hands, knocking down the soil and getting rid of any air pockets. This might create some space or holes on top of the soil, add a bit more soil to fill those in.

Give the plant baby a big drink (assuming it was dry before you repotted) and admire the finished product. You may need to even out the soil again if you’d like. Decorative elements can be added at this point if you would prefer not to look at the soil/dirt. You can use rocks, sand, bark, moss to name a few. If you do put something on top of the soil, make sure it is clean and doesn’t have chemicals that will harm your plant.
I hope these tips bring you confidence in your next potting-up mission. If any of this still seems daunting to you, sends us a message, we offer these services and would love to help freshen up your interiorscape.
